Table of Contents
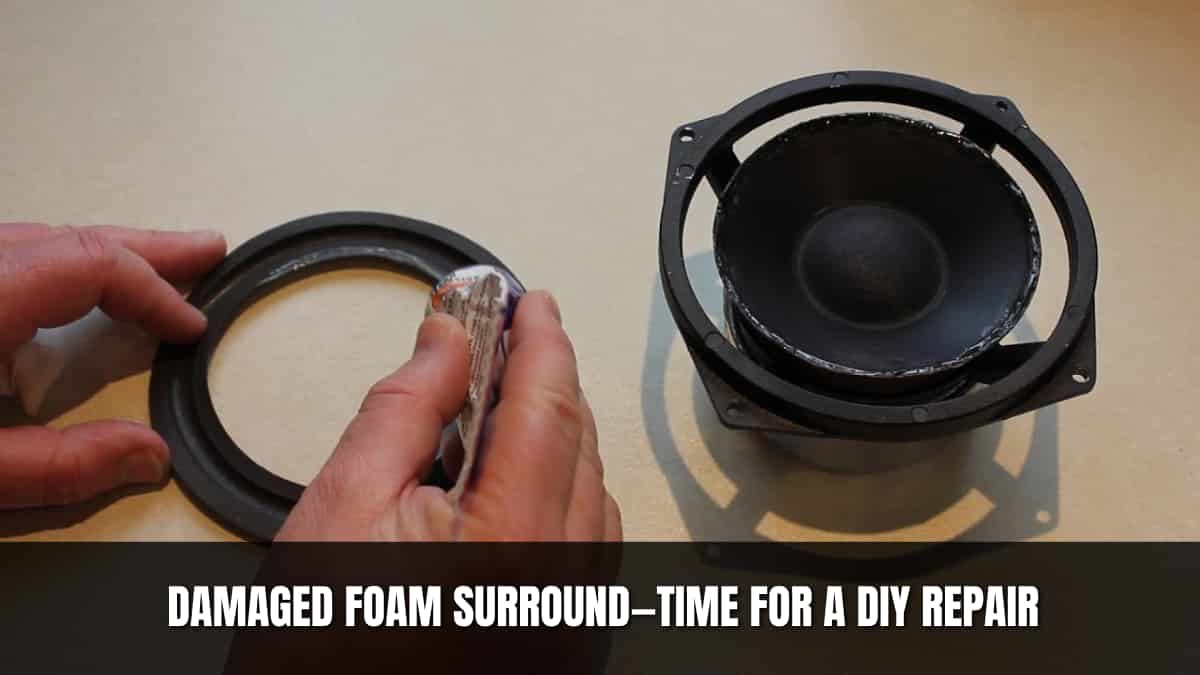
Your speaker might not be damaged; rather, your foam surround could be producing distorted audio, buzzing, or no bass at all. The soft, flexible ring linking the speaker cone to its frame is the foam surround. It deteriorates with time from age, humidity, UV radiation, and dust, leading to performance problems. Fortunately, you can fix speaker foam damage yourself and restore your audio quality without replacing the entire speaker.
The upside of events? You are not obligated to swap out the whole speaker. One unexpectedly easy DIY project is fixing foam surround damage. You may breathe new life into your speakers for a fraction of the cost of replacement if you have the appropriate tools, supplies, and a bit of patience.
In this article, we’ll guide you through everything you have to know—from detecting the problem to step-by-step restoration of the damage. This guide will help you fix speaker foam surround damage with confidence whether you are a music enthusiast, home theatre enthusiast, or casual DIYer.
What Is Speaker Foam Surround and Why It Matters
The foam surround is a critical component of a speaker’s suspension system. It helps the cone move back and forth smoothly while keeping it centered. This movement is essential for producing clean and accurate sound, especially at lower frequencies.
When the foam deteriorates or tears:
- The cone becomes misaligned.
- Bass output drops significantly.
- Buzzing, rattling, or flapping noises can occur.
- Further damage may occur to the voice coil or cone.
Common Causes of Foam Surround Damage
Understanding first what causes foam surround damage will help you before diving into the repair:
- Most foam surrounds naturally disintegrate over time; they usually last 10 to 15 years.
- Direct sunlight (UV exposure) can dry out and split the foam.
- Temperature and Humidity: Variations in humidity and heat can reduce the foam’s flexibility.
- Particles can settle into the foam, accelerating its wear and tear.
- Overpowering the Speaker: Driving the speaker at excessively high volumes may stretch or rupture the foam.
Tools and Materials You’ll Need to Fix Speaker Foam
Before you start your repair project, gather the following tools and materials:
Tools:
- Hobby knife or razor blade
- Small paintbrush or cotton swabs
- Flathead screwdriver or plastic spudger
- Clamps or weights (optional)
Materials:
- Replacement foam surround (correct size for your speaker model)
- Speaker glue (foam surround adhesive or rubber cement)
- Rubbing alcohol or acetone (for cleaning)
- Paper towels or lint-free cloth
Tip: Many online stores sell speaker foam repair kits tailored to specific speaker models that include the exact foam size and proper glue.
Step-by-Step Guide to Fix Speaker Foam Surround Damage
Step 1: Remove the Speaker from Its Enclosure
Carefully unscrew and lift the speaker from its cabinet or housing. If it’s a car speaker, you may need to remove a door panel or dashboard cover.
- Label any disconnected wires so you know where to reconnect them later.
- Set the speaker face-up on a clean, stable surface.
- go to the official website : Fix My Speaker
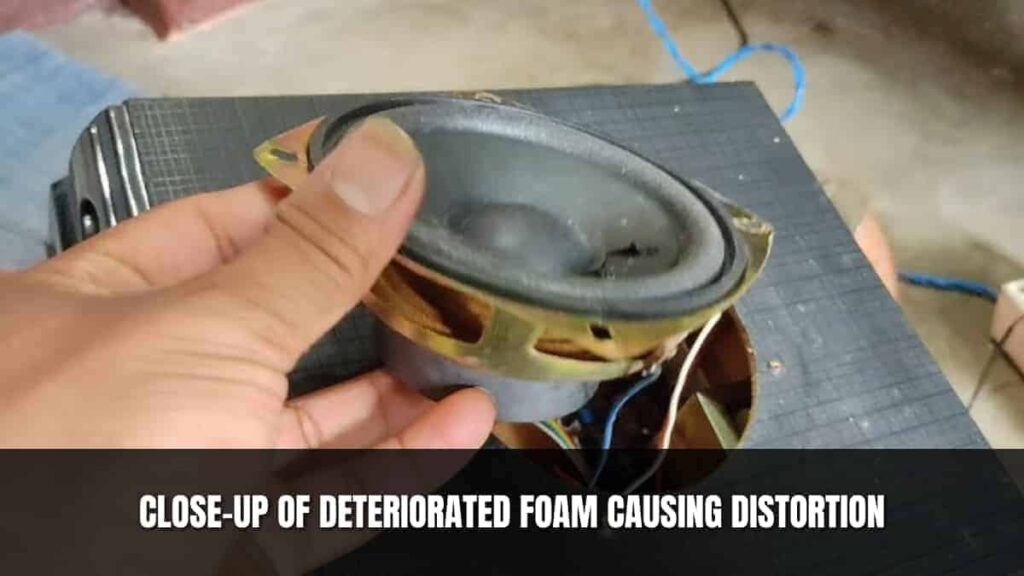
Step 2: Inspect the Damage
Take a close look at the foam surround:
- Is it torn in one place or completely disintegrated?
- Is the speaker cone still intact?
- Is the voice coil rubbing when you gently push the cone down?
If the cone and voice coil are fine, a foam surround replacement should fix the issue.
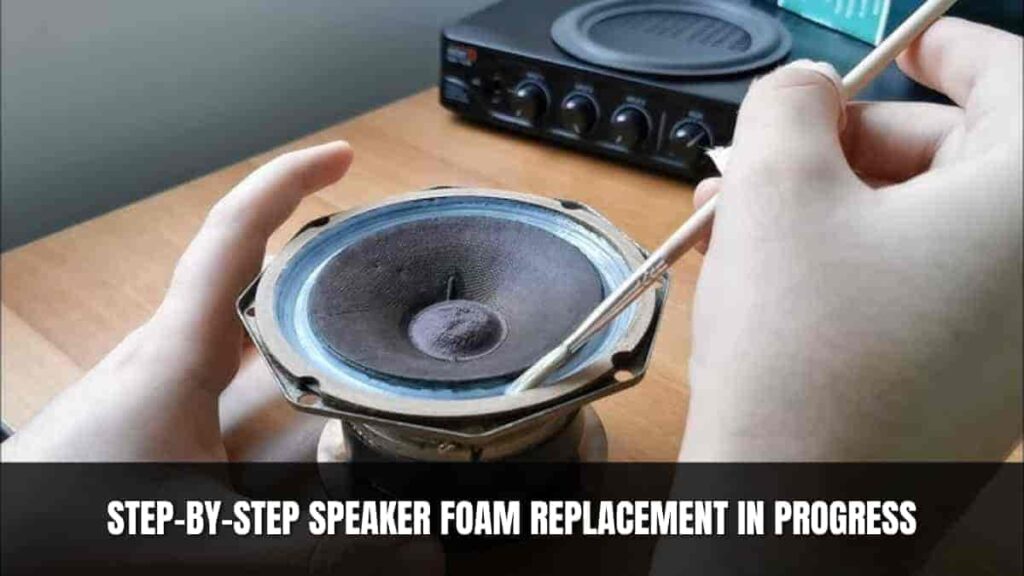
Step 3: Remove the Old Speaker Foam Surround
Use a hobby knife or razor blade to carefully scrape off the damaged foam from:
- The speaker cone edge
- The metal or plastic frame (basket)
Be thorough but gentle. Avoid cutting into the cone or frame. If glue residue remains, use a small amount of rubbing alcohol and a cloth or brush to remove it completely.
Note: Cleanliness is key. Any leftover foam or glue can interfere with the new surround’s adhesion.
Step 4: Center the Voice Coil (If Necessary)
If your speaker emits scratching noises when the cone moves, the voice coil may be misaligned.
To center it:
- Shim the voice coil using paper strips around the cone’s dust cap (you might need to remove the dust cap carefully).
- Insert the paper shims evenly so the cone is centered and doesn’t rub.
Alternatively, some prefer the “free-hand” method, using gentle pressure to ensure the cone stays centered during gluing. Shimming is more precise but slightly more complex.
Step 5: Attach the New Speaker Foam Surround
Start by doing a dry fit to ensure the new surround fits perfectly over the cone and basket.
- Glue the inner edge of the foam to the speaker cone using a thin, even layer of adhesive. Press it gently into place.
- Wait a few minutes for it to partially set (check glue instructions).
- Glue the outer edge of the foam to the basket/frame.
- Use light pressure or clamps to hold it down while it dries.
Let the glue cure as per the manufacturer’s instructions—usually 24 hours for full strength.
Step 6: Reassemble and Test the Speaker
Once the glue has dried and the speaker foam is securely in place:
- Remove any shims and reattach the dust cap if you removed it.
- Reconnect the wires and remount the speaker into its enclosure.
- Test it with low-volume audio first, gradually increasing to normal levels.
If the speaker sounds clean and distortion-free, congratulations—you’ve successfully fixed your foam surround!
Tips for a Successful Speaker Foam Surround Repair
- Choose the right size: Measure your speaker’s cone and frame or refer to the model number before purchasing the foam.
- Be patient: Rushing the gluing or skipping cleaning will compromise the repair.
- Avoid excess glue: Too much adhesive can seep onto the cone and affect sound.
- Test before final mounting: Listen for any rubbing or distortion before reinstalling the speaker completely.
When to Replace Instead of Fix Speaker Foam
Repairing the foam surround is a great option if the rest of the speaker is in good shape. However, replacement might be the better choice if:
- The voice coil is damaged or rubbing even after alignment.
- The cone is torn or severely warped.
- The speaker has been exposed to water or corrosion.
Benefits of DIY Foam Surround Repair
- Cost-Effective: A new speaker can cost $100+, but a repair kit is often under $30.
- Sustainable: Repairing extends the life of your equipment and reduces e-waste.
- Satisfying: There’s real joy in reviving a damaged speaker with your own hands.
- Customizable: Some audiophiles even upgrade foam surrounds to higher-quality materials like rubber or fabric.
Bonus: Can You Use Rubber Surrounds Instead of Foam?
Yes, some users opt for rubber surrounds instead of foam due to their longevity. However:
- Rubber is stiffer and may slightly alter the sound profile (especially bass response).
- Foam is lighter and more flexible, offering more natural movement for certain music genres.
If you’re an audiophile, stick with what matches your speaker’s original spec. If you’re aiming for durability, rubber might be a good swap.
Final Thoughts
Although fixing foam surrounding damage could seem technical, it’s an inspiring do-it-yourself project that yields clear, pristine sound and spare money. Through meticulous planning and stable hands, you may return your speakers to their former magnificence and savour your podcasts, films, and music as they were intended to be heard.
Repair your speakers instead of throwing them the next time you hear that irritating buzzing or lose that deep bass punch.
FAQ:
Q: Am I allowed to repair foam surrounds with ordinary glue?
A: No. Regular glue might be excessively hard or brittle. Use specialized speaker glue, rubber cement, or adhesives provided in repair kits.
Q: How long a new foam surround will endure?
A: Usually 10–15 years, depending on use and environmental conditions.
Q: Is it okay to use a speaker with damaged foam?
A: It’s not recommended. A torn foam surround can misalign the cone and damage internal components like the voice coil.
Q: Can I repair car speakers with this method?
A: Yes! The process is similar, though accessing the speakers might require extra steps like removing door panels.